
Category: How To
-
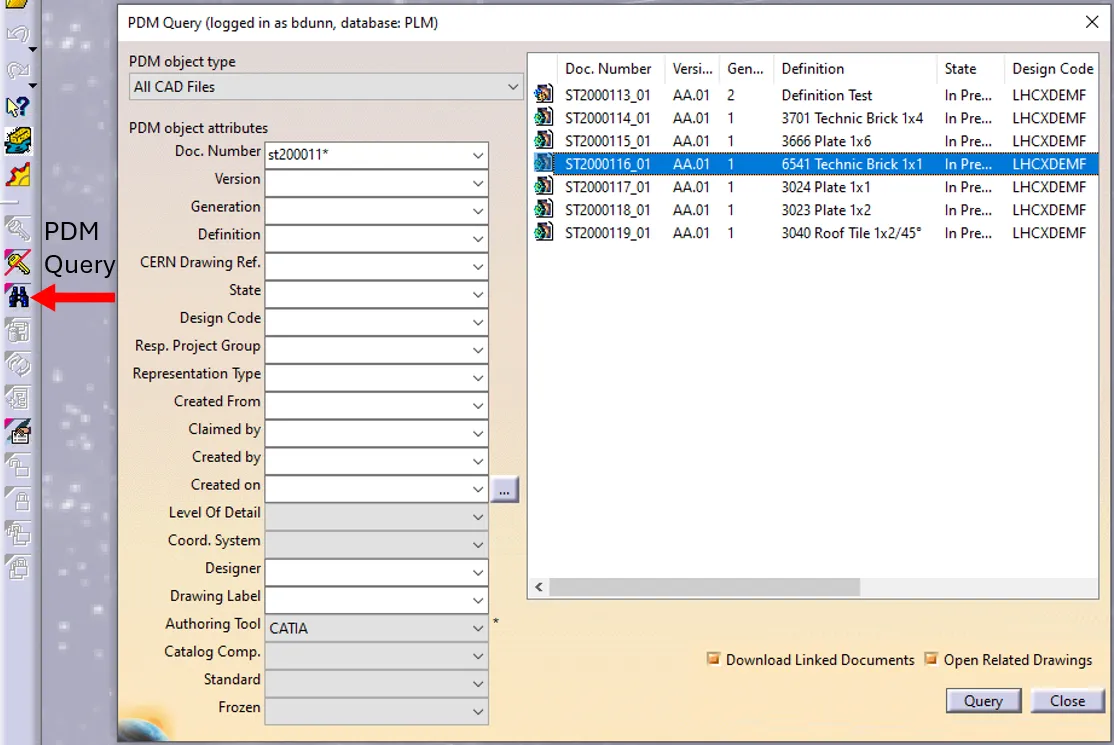
How to open a CAD document from CATIA using the connector?
How to open a CAD document from CATIA using the connector? In CATIA, from the connector toolbar, clicking on the Query icon, you will be able to access the PDM Query dialog and to search for any CAD document previously uploaded to the PLM platform. Once the searched CAD Document has been found and selected,
-
How to open a CAD document from the PLM?
How to open a CAD document from the PLM? Any CATIA document saved in the PLM platform can be opened from there directly in CATIA. There are various methods, see below: See the ‘Opening’ subgroup for related information See more: Open CAD Document in CATIA
-
Who to contact for support?
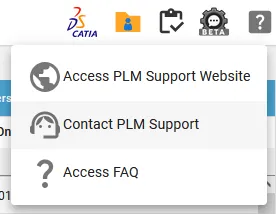
Who to contact for support? For support, please send an email to plm-support@cern.ch. A request will be automatically created in the Service-Now Platform. For urgent/blocking issues, please call the hotline: 160660 For CAD designers, it is also possible to report an issue from the PLM desktop application. This way, the request created in Service Now
-
How to install CATIA and the connector?
How to install CATIA and the connector? Access to the CATIA connector is granted on request, therefore if you have not already done so please complete this form to work with CATIA. Prior to granting you access, we would ask for you to complete the relevant training, please see a link to the learning path
-

How to access CATIA via the PLM?
How to access CATIA via the PLM? To access CATIA via the PLM please press the CATIA icon in the top right of the dashboard screen. Access to the CATIA connector is granted on request, therefore if you have not already done so please complete this form to work with CATIA. Prior to granting you
-

How to generate a set of magnet spacers and the associate coil from Roxie output files?
How to generate a set of magnet spacers and the associate coil from Roxie output files? The main purpose of the toolbox is to design a multi-layer's coil or magnet spacers defined by points coordinates stored in a text file. You can also use this tool to estimate the quality and conformity of generated parts
-
How to import Points in CATIA using coordinates in EXCEL?
How to import Points in CATIA using coordinates in EXCEL? To import you need the "Part Template" tool. This can create some 3D points in Catia V5 from their coordinates stored in one Excel file. The created points can be automatically renamed if the name information is available in the Excel file. An optional feature
-
How to develop a sketch on any surface?
How to develop a sketch on any surface? The tool that you have to use is a "Power Copy". To use it, a Part must be activated. If you want to know more details, please open the document which is under. Developed Sketch
-
How to import points along a curve?
How to import points along a curve? In the following document you can find simple explanation how to import points. Dcum
-
How to generate a Part from a Product, keeping associativity with Material’s name and Definition?
How to generate a Part from a Product, keeping associativity with Material’s name and Definition? This tool generates a CATPart from a CATProduct, using the "Generate CATPart from Product…" command. Then the tool scans the original Product to search for the materials associated to the parts. It is also possible to run this macro from